
The Ultimate Guide to Hanging Wall Art: Heights, Spacing, and Tools
Affiliate Disclosure: This blog post contains affiliate links and may feature advertisements. This means that if you click on a link to a product or service we recommend and make a purchase, we may receive a small commission at no extra cost to you. These commissions help support our blog and allow us to keep creating content you love. We only promote products, services, and businesses that we have personally used, trust, and genuinely believe will be of value to our readers. Your support through these links is greatly appreciated!
Hanging wall art should feel like the exciting final flourish to your space, not a frustrating geometry test. Yet, getting a piece to hang at the perfect height or getting a gallery wall to look effortlessly balanced can feel impossible.
The truth is, professional interior designers rely on a few simple, non-negotiable rules. Master these techniques, and you'll transform your walls from cluttered and awkward to cohesive and gallery-worthy—all with a lot fewer nail holes.
The Golden Rule: The 57 to 60-Inch Standard
If you learn only one thing about hanging art, make it this: the center of your artwork should be 57 - 60 inches from the floor.
Why 57 - 60 inches? Because this represents the average human eye level. It’s the standard used in art galleries and museums worldwide because it allows people to view the center of the piece without tilting their head up or down.
Advertisement
How to Apply the 57- 60 Inch Rule
This technique works for single pieces and for an entire gallery wall (where the 57- 60 inch mark hits the visual center of the entire arrangement).
- Find the Center: Measure 57 inches up from the floor and make a light pencil mark on the wall.
- Measure the Art: On the back of your frame, measure the distance from the top of the frame to the wire or hanger hardware (the point where the nail will actually catch). This is your hanging drop.
- Find the Nail Spot: Measure up from your 57-inch center mark by half the height of the artwork, and then subtract the hanging drop. This final point is where your nail or hook needs to go.

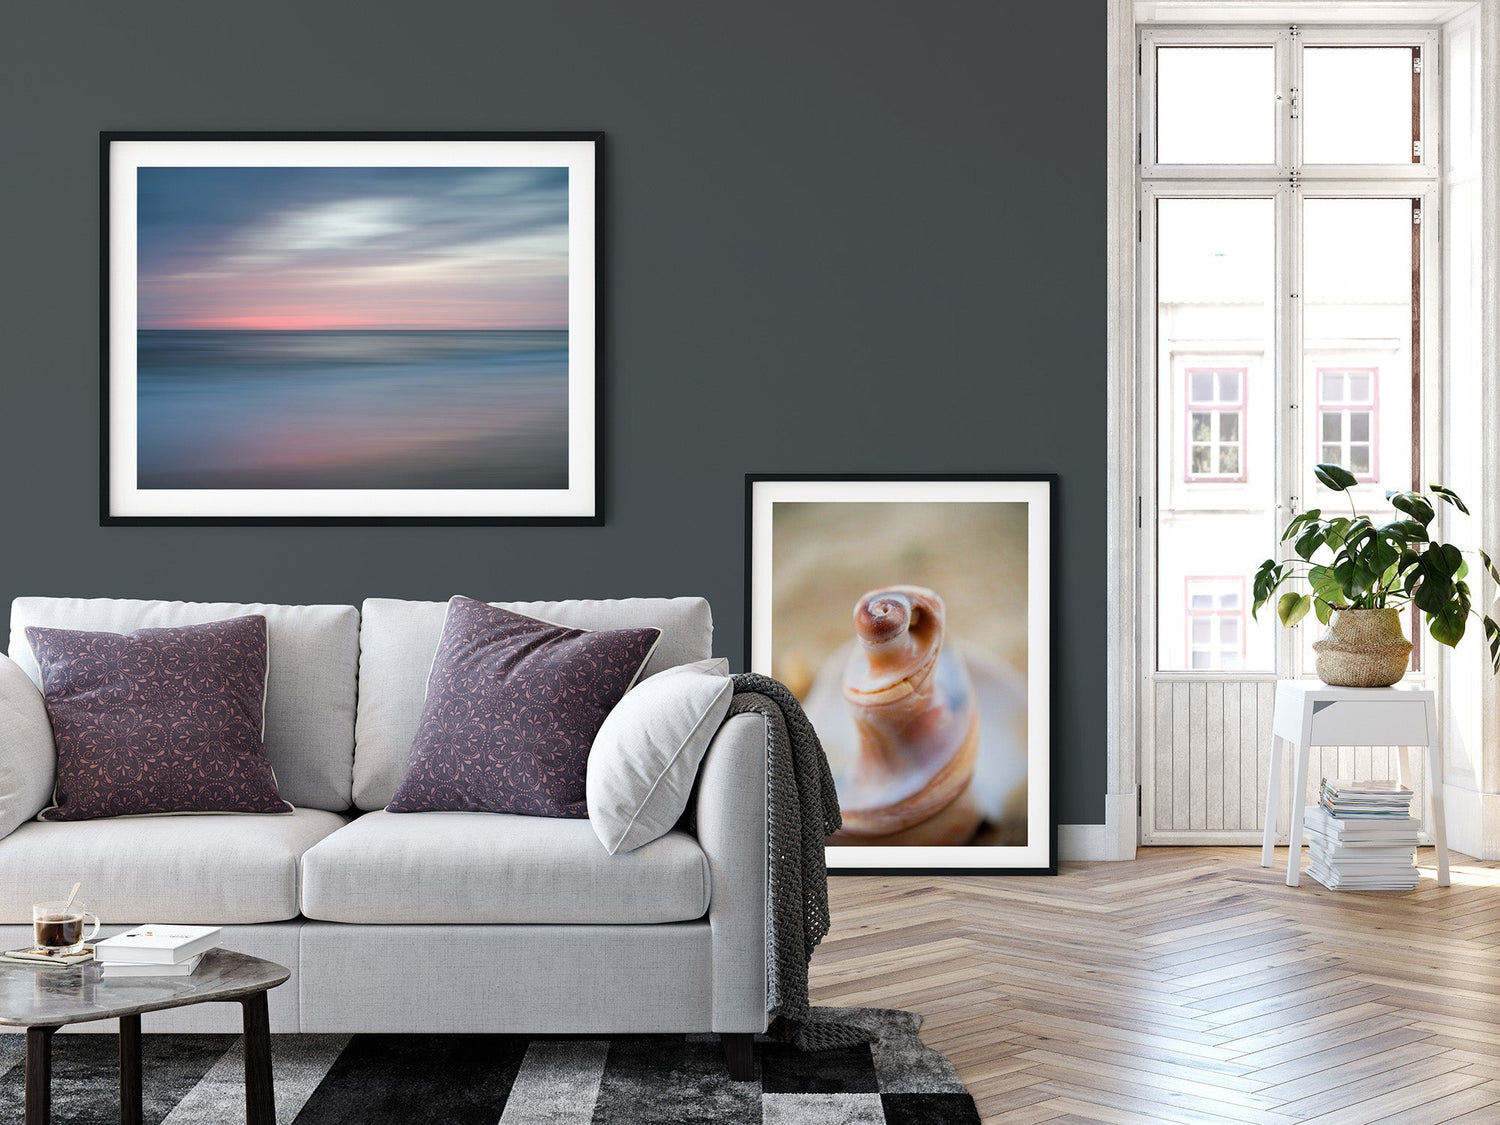
The Furniture Exception: Art Over a Sofa or Console
The 57- 60 inch rule is for empty walls. When hanging art above furniture like a sofa, console table, or headboard, the relationship between the art and the furniture is more important than the eye-level rule.
The art must feel connected to the furniture, not floating above it.
- Height: The bottom of your frame (or the bottom of your gallery grouping) should hang between 6 to 8 inches above the top of the furniture piece. This bridges the gap visually, tying the two elements together as a single unit.
- Scale: The artwork (or your gallery wall grouping) should be approximately two-thirds (2/3) the width of the furniture it hangs above. This prevents the art from looking undersized and creates a visually grounded, balanced focal point.

Mastering the Gallery Wall Layout
A perfect gallery wall looks random and organic, but it is actually the most precisely planned wall of all. The key is to treat the entire collection as a single, large piece of art.
1. Plan on the Floor First (or with Paper)
Never start drilling holes immediately.
- The Floor Method: Lay your largest piece on the floor first (this is your visual center). Arrange the smaller pieces around it, playing with different layouts until you find one you love.
- The Paper Template Method: Trace each frame onto craft paper or newspaper, cut out the templates, and label them. Use painter's tape to stick the paper templates to your wall. You can easily adjust, re-level, and step back to check the arrangement without committing to a single hole.
2. Spacing
Consistent spacing is what separates a professional look from a messy one.
- Grid Layouts: For a clean, modern look, maintain a precise 2 to 3 inchgap between all frames.
-
Eclectic Layouts: If you have a mix of sizes and frames, you can slightly vary the spacing, but try to keep it within the 3 to 5 inch range. If the pieces are too far apart, the collection will look disjointed.
3. Alignment
Choose an alignment point and stick to it.
- Horizontal Line: Pick a main imaginary horizontal line (like the 57-inch mark) and ensure the center of all the pieces along that line up exactly.
- Symmetry: For a formal, symmetrical grid, ensure the outer edge of each frame lines up precisely with the piece next to it. Use a laser level for maximum accuracy.

Essential Tools for a Flawless Hang
Having the right equipment ensures your art is level and securely fastened on the first try.
-
Must-Haves:
- Tape Measure: Accurate measurements are everything.
- Level: A standard carpenter’s level is great, but a laser level is a game-changer for gallery walls.
- Painter's Tape and Pencil: For marking the wall and creating paper templates.
-
The Right Hardware:
- Picture Hooks: These are small nails attached to a hook that provides incredible strength for their size. Use them for most average-sized frames.
- Wall Anchors/Toggle Bolts: Essential for heavy art or mirrors that weigh more than 15 lbs. Do not rely on a simple nail in drywall for anything heavy—it will eventually fail.
- Command Strips: A perfect solution for renters or for providing extra stability to the bottom of a large, wired frame so it doesn't tilt or shift when someone walks by.
Hang with confidence! By following these simple measurements and techniques, you'll ensure your wall art always looks intentional, balanced, and perfectly positioned in your home.
Advertisement